Gorgeous How To End Wainscoting In Bathroom Sink

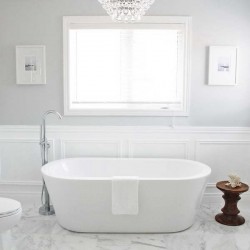
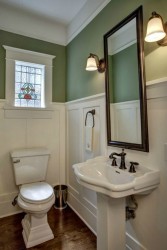
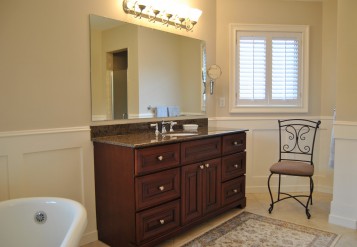
Installing wainscoting in bathroom is very standard, but the installation itself requires smart technique in ending process. To create a neat final look that is seamless ending is not a standard installation, unless you want to remove the sink to install wainscoting behind it, you have little choice. There are two options and some steps to take when finishing the project so it will look complete. Either you want to trim it with moulding or install it up to the sink, each of option will create seamless ending. Somehow, you need to consider several details such as nail holes and gap between the sink and moulding.
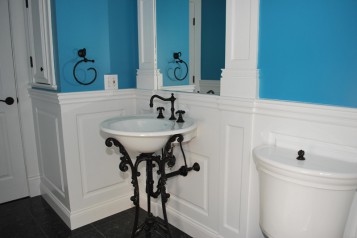
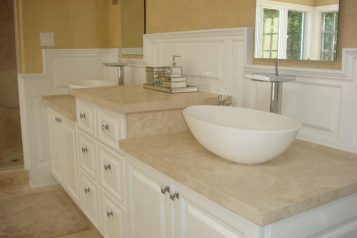
The first option is stopping the wainscoting altogether by trimming the edges with moulding is one way to go. Install the boards or slats up to the sink, leaving just enough room for a moulding piece to fit between the wainscoting and the sink. Cut the ends of the edge moulding at a 45-degree angle, then cut the cap piece and the baseboard at an opposite 45-degree angle so that all three pieces fit together. A mitre box works best for this. Install the three pieces with finishing nails and construction adhesive. Repeat this on the opposite side of the sink, creating another frame before installing the rest of the boards or slats for the wainscoting, if you are continuing it on the opposite side of the sink. Fill in any gaps or lines between the moulding pieces with wood filler.
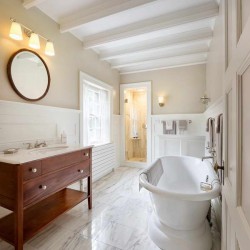
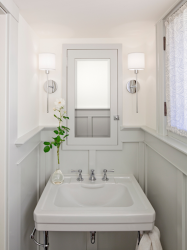
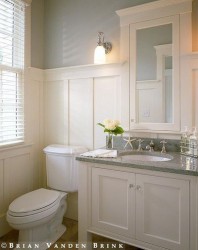
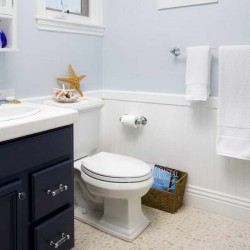
The next option is installing it up to the sink, if the top cap of the wainscoting is directly in line with the sink, you can install the slats or boards all the way up to the sink, using the cabinet as a natural stopping point. To do this, cut and install the boards or slats as you have done in the rest of the room. In the event that the top cap is higher than the sink or the lip on the back, install the top cap above the basin to avoid a sudden break. This option does not usually work when, in order to keep a level line of wainscoting around the room, you have to install small boards or slats behind the sink. In this case, trimming the wainscoting with moulding at the edge of the sink will look best.
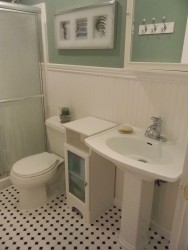
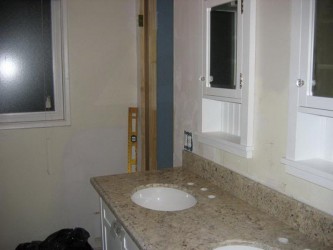
If you have pedestal sink, which leave the area behind the basin visible, typically look best if you wrap the wainscoting underneath the sink and begin it again on the other side, rather than stopping it at the sink. To do this, install the wainscoting all the way up to the edge of the sink and then measure and cut each slat to fit the curve underneath the sink, making any cut-outs for plumbing.


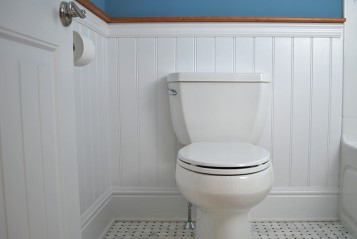
Fill in any nail holes with wood filler. Whether brushing one’s teeth or washing one’s hands, people spend a fair amount of time standing at the sink and any unfilled nail holes will be obvious. You can use wood filler that matches the finish on your wainscoting or paint it to match, using touch-up paint. If you purchased a wainscoting kit, it likely came with a product to do this.
No matter what option you chose, there is likely a small gap between the sink and the moulding or wainscoting, as well as between the trim, wainscoting and the wall. To cover the gap, apply a thin line of bathroom caulk in a colour that matches the wainscoting all the way around the edge of the wainscoting or moulding so that moisture does not get underneath, potentially damaging the wall and causing the slats or boards to warp or bend.
Gorgeous Shower Design Ideas
Charming Wainscoting In Bathroom
Awesome Bathrooms Ideas
Wainscoting America Gallery Of Wainscoting Pictures
Gorgeous Bathroom Wainscoting Product Lineup
Stunning Shower Tile Ideas
Fabulous Small Bathroom Design
Wainscoting Panel Bathroom Westerly
Wainscoting In Bathroom Ideas
Wainscoting In Bathroom Ideas With Pale Blue Wall
19 Photos Of The Cool Ideas With Wainscoting Bathroom
Wainscoting America Gallery Of Wainscoting Pictures
Wainscoting Bathroom Design
Wainscoting Height Bathroom Product Image
Wainscoting In Bathroom Ideas With Yellow Towel
Written by andre. . See Also Other posts by andre


- Gorgeous How to landscape backyard pool on budget
- The Beautiful Of Kitchen Chair Cushions with Ties
- Modern curtain design ideas for bedroom
- how to use bead board wainscoting in bathroom
- How to coordinate the colour of butcher-block countertop with oak cabinets
- Advantages and disadvantages of biodegradable landscape fabric
- Ideas to organize broom closet