How To Use Bead Board Wainscoting In Bathroom

Apply wainscoting in bathroom is the standard final touch to protect the walls for years to come. Wainscoting has protected walls since the 1600s, when it consisted of wood panels framed by stiles and rails. With the advent of industrial milling machines in the 1850s, however, less-formal bead board wainscoting became available. Many people use the terms wainscoting and bead board interchangeably. To better, understand how to use bead board wainscoting, let us find out what difference between wainscoting and bead board wainscoting.
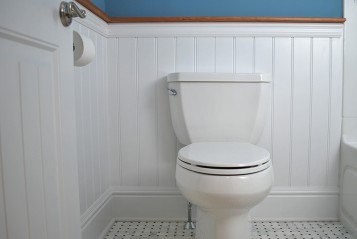
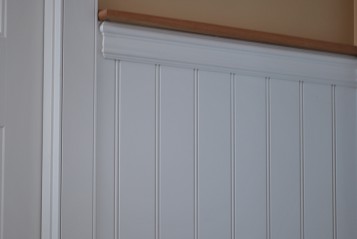
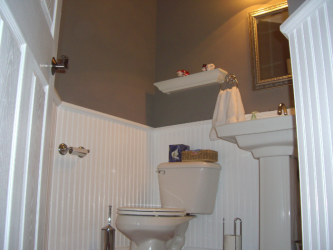
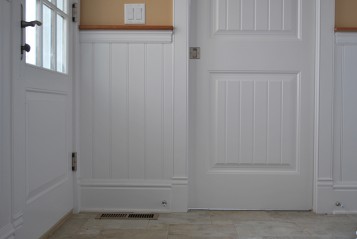
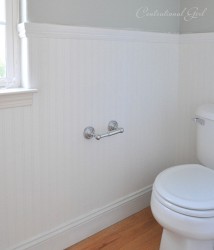
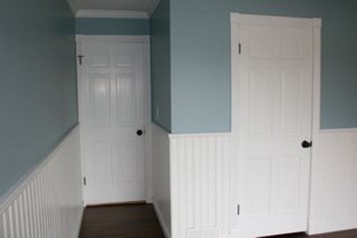
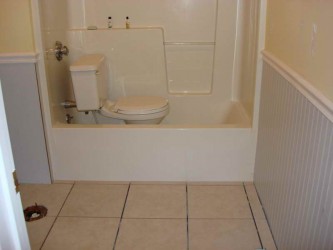
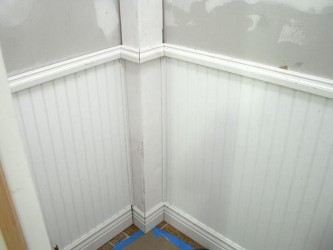
Wainscoting as mentioned before is a wood panel used for centuries as both decorative accents, insulation and to prevent (and cover up) water damage on walls. Originally, riven oak boards would cover the entire wall, but in the 1700s, panelling began to cover only the lower part of the wall. While bead board wainscoting is one of types of wood panellings. The type of panel used determines the mane of wainscoting. Bead board is a row of narrow wood planks lined up vertically. In between each wood plank is a little indentation or ridge–also known as a “bead”. These days most ‘bead board’ comes in long, monolithic sheets that are easy to install and imitate the look of narrow vertical planks.
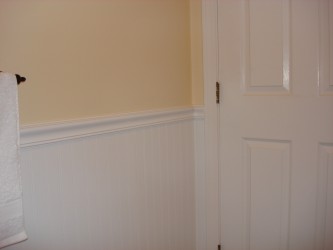
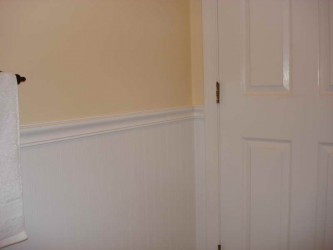
Installing bead board is challenging when it comes to detailed parts of the walls, such as hinge, electrical outlet, and how to make the bead board gracefully turn corners. To install it easily, most people start it from corners. Follow these tips for better installation and handle such obstacles in doorway, hinge, window and electrical outlets.
•Where a cap rail meets a door or window casing. Sandpaper and a dab of finish is enough for simple rails, and more complicated rails may require a mitre or cope. For added trim detail, set the wainscot on a baseboard and cover the joint with a cap moulding.
•Most installations begin at an inside corner. However, if a room has an outside corner, you should start there. Start a wainscot installation where it is most visible, and try to end it where it is least conspicuous.
•Press wood into adhesive and toenail the tongue, top and bottom. If hammering, drill pilot holes first and use a nail set. Bowed strips may need a third nail halfway down. Check every third or fourth board for plumb with a level. If necessary, make slight corrections in subsequent pieces until plumb is regained. Do not apply too much adhesive at once. It will not hold the bead board after it skins over.
•Cut out the notch with a jigsaw, then glue and nail the board as in Step 3. When cutting boards with a jigsaw, use a metal-cutting blade to reduce splintering.
Gorgeous For Bathroom Picture Collection
Beadboard Wainscoting Photo Collection
Wainscoting For Bathrooms Photo Gallery

Wainscoting In Bathrooms Photo Collection
Bead Board Wainscoting In Richmond Va Photo Gallery
Board And Batten Wainscoting
Wainscoting Panels Photo Collection
Wonderful What Is Bead Board Picture Collection
Master Bathroom Bead Board Wainscoting Ideas
Bathroom Wainscoting Photo Collection

The Ultimate Guide To Wainscoting Image Gallery
Bead Board Wainscoting For Bathroom
Written by andre. . See Also Other posts by andre


- Gorgeous How to landscape backyard pool on budget
- The Beautiful Of Kitchen Chair Cushions with Ties
- Modern curtain design ideas for bedroom
- how to use bead board wainscoting in bathroom
- How to coordinate the colour of butcher-block countertop with oak cabinets
- Advantages and disadvantages of biodegradable landscape fabric
- Ideas to organize broom closet
